The fastest growing field in photography right now is aerial photography. Drone technology has evolved over the years and is now at a point where we can do things that past photographers could only do with the help of a helicopter. Drones have become consumer friendly and affordable. They are now not only fairly easy to control but often fun. Brands such as DJI offer features that allow you to control the movement of the drone with your hand.
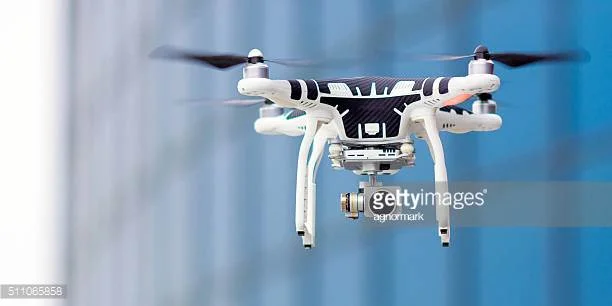
Photo by agnormark/iStock / Getty Images
Here are a few tips to help you improve your chances at nailing that shot while flying your drone.
Have a plan. Let’s say you’re doing some real estate shots with your drone. The first thing you should do when arriving on scene is walking around the house looking for angles and obstacles. Do not start setting your drone up and get up in the air and then start checking your surroundings. You should know that what you make the swinging arc motion toward the back deck that you have about twenty feet until a tree becomes a possible collision. Even though many drones offer obstacle avoidance technology you should still take the time to get to know your surroundings.
Keep your drone in your line of sight. While this is an FAA rule many people forget to follow it. Besides the added comfort of keeping several thousand dollars’ worth of equipment in your line of sight, you run the risk of crashing or loss of signal the further the drone gets away from you and the controller. Many drones will be rated for a two mile range. Best not to test that. The farther away the drone the farther the signal has to travel to your drone. Best to keep your drone in eye sight in case something bad happens. There is no worse feeling than a fly away where you never see it again.
Learn your equipment. Before you go flying over waterfalls and rivers, take your drone to a wide open field and get familiar with it. Learn how steady it’s hover is. Make sure you have a general idea of how long the battery lasts. I would cycle through three different battery charges so you have a general idea of how long the battery will last. And don’t wait until your battery light is blinking to land your drone. I always land with at least four minutes left on my charge. Better to play it safe. If your drone offers obstacle avoidance technology you may want to slowly fly your drone up to a hay bale or something relatively soft and see how close you can get until the safety features kick in. Again just because your drone can fly 3,000 feet up in the air doesn’t mean you have to.
Know your environment. Do some research before you go out and fly. There are many areas that are no fly zones. Prisons, hospitals and airports are three examples. National parks are also a no fly zone, unless you have a permit. Otherwise you are risking a fine. And while we are on the topic, you should have your part 107. That is the test you have to take to fly your drone for commercial purposes. It also opens up certain areas that you would normally not be able to fly in.
I hope you enjoy my drone video below!